Communication is one of the keys to success in affiliate marketing (as a merchant). What do I mean by that? Communicating with your affiliates is a vital piece (behind recruiting/activation) to a successful program and letting them know the happenings within your affiliate program is a must for many reasons. Newsletters are the #1 option for communicating with affiliates. For merchants that use CJ Affiliate I will be going step-by-step on how to send a newsletter through the CJ Affiliate interface.
Step 1 – How to Get Started
Once logged in to your CJ Affiliate merchant interface you will want to click the “Mail” tab. A drop-down box will appear and then click the “Email Campaigns” tab. You will then be directed to the page that will guide you through the rest of the set-up and sending process.


Step 2 – Create New Email Campaign
This step is where you can see any old newsletters that were sent, along with the statistics of them. This is useful for gauging the open rates by your affiliates. For the purpose of this post we are going to click the “Create New Campaign”.

Step 3 – Input General Information
You want to name the campaign (something relevant to the content), plus add the name of the email, but most importantly you want to select the audience to target. Select joined and the next step will get into specifics of what groups and affiliates you can target with your newsletter.

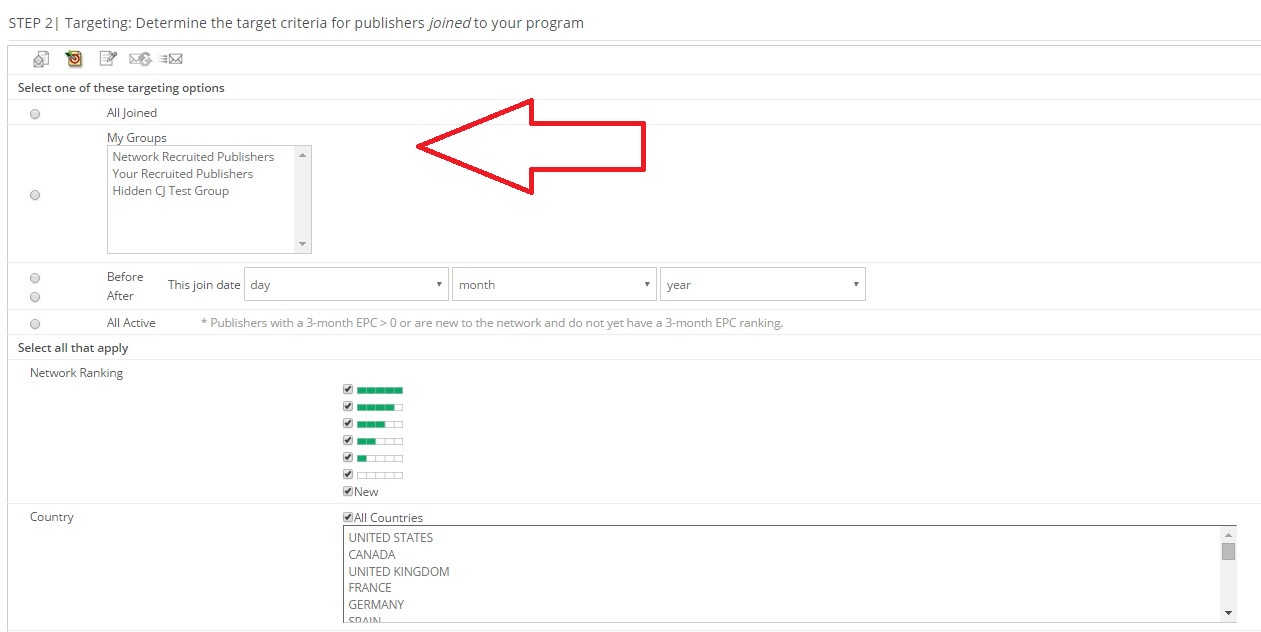
Step 4 – Select Targeting Options
You can select all joined, a specific group of affiliates (only if you have them broken into groups), active affiliates, their network ranking, and their country.
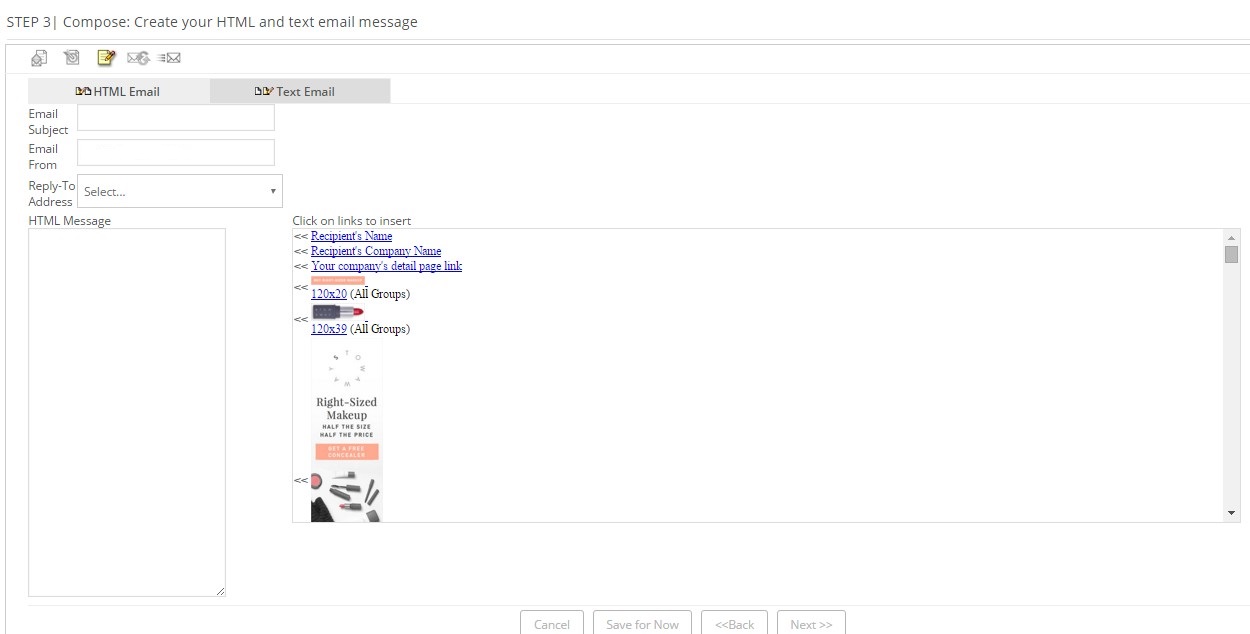
Step 5 – Compose the Affiliate Newsletter
You have the option to create an HTML to text version of the newsletter, but I recommend an HTML version. Here you will create the newsletter subject, who the newsletter is from, and select the reply-to address (make sure it is an inbox that is monitored closely), and paste the HTML into the rectangle box. CJ Affiliate also provides you the ability to add quick links to the newsletter by simply clicking on them in the box next to the HTML message.
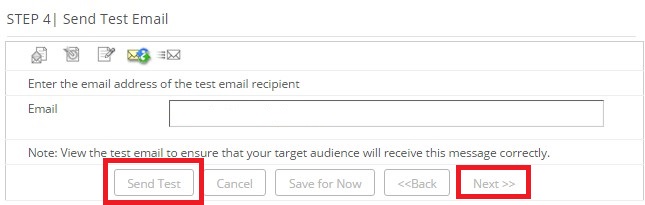
Step 6 – Send a Test Email
Insert the email address you want the test to go to and hit “Send Test”. Make sure to review the newsletter carefully for any spelling, grammar, or formatting errors. Once the test has been review hit the “next” button.
Step 7 – Send Newsletter
The final step is where you review the important details of the newsletter. Ensure the information provided is correct. The last thing to do is hit the “send” button.

CJ affiliate has made it rather easy to send a newsletter to your affiliates. Make sure to communicate any important changes or special deals to your affiliates as they happen. The affiliates need to know what is going on in the program to effectively promote it and to make money for them and you.