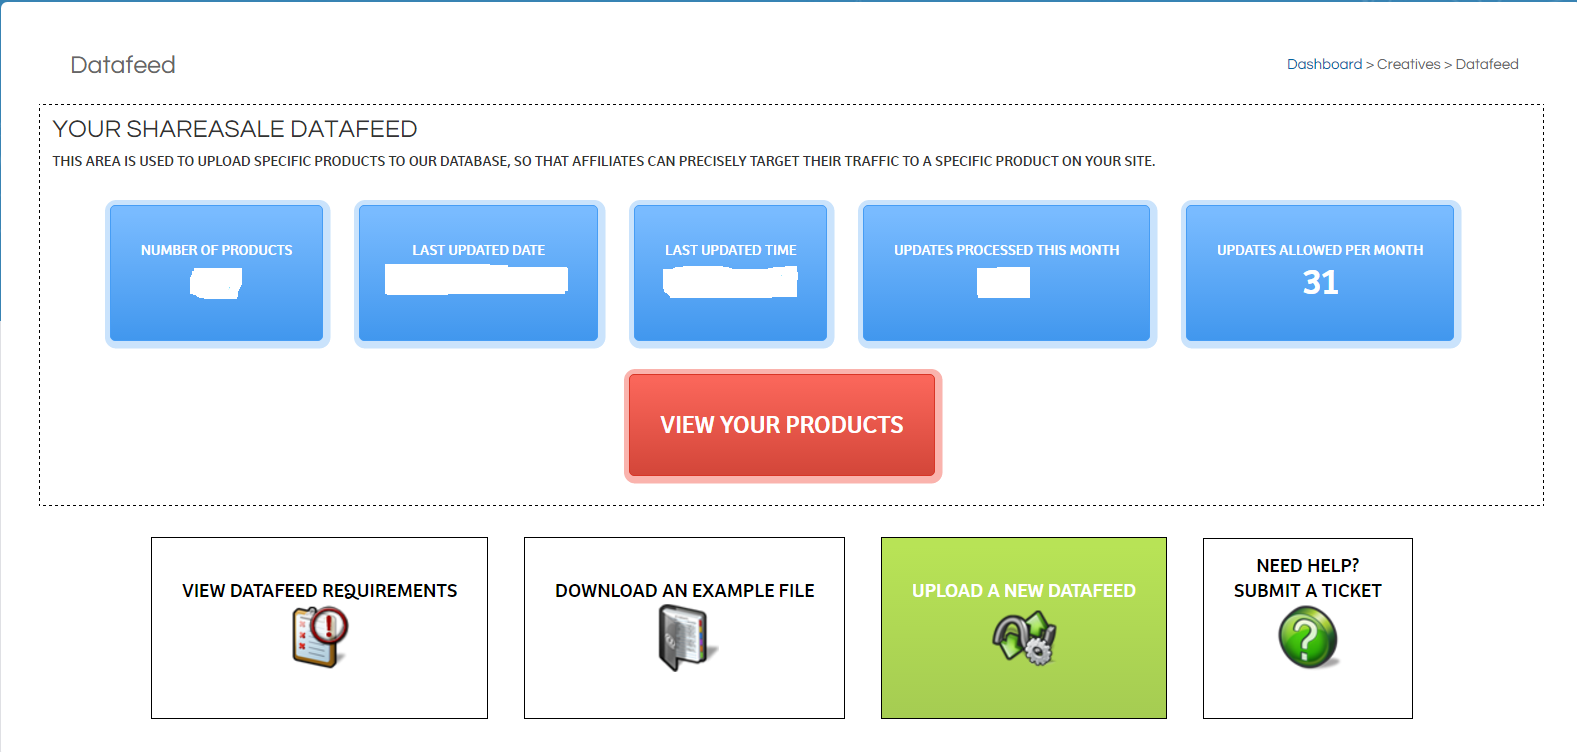
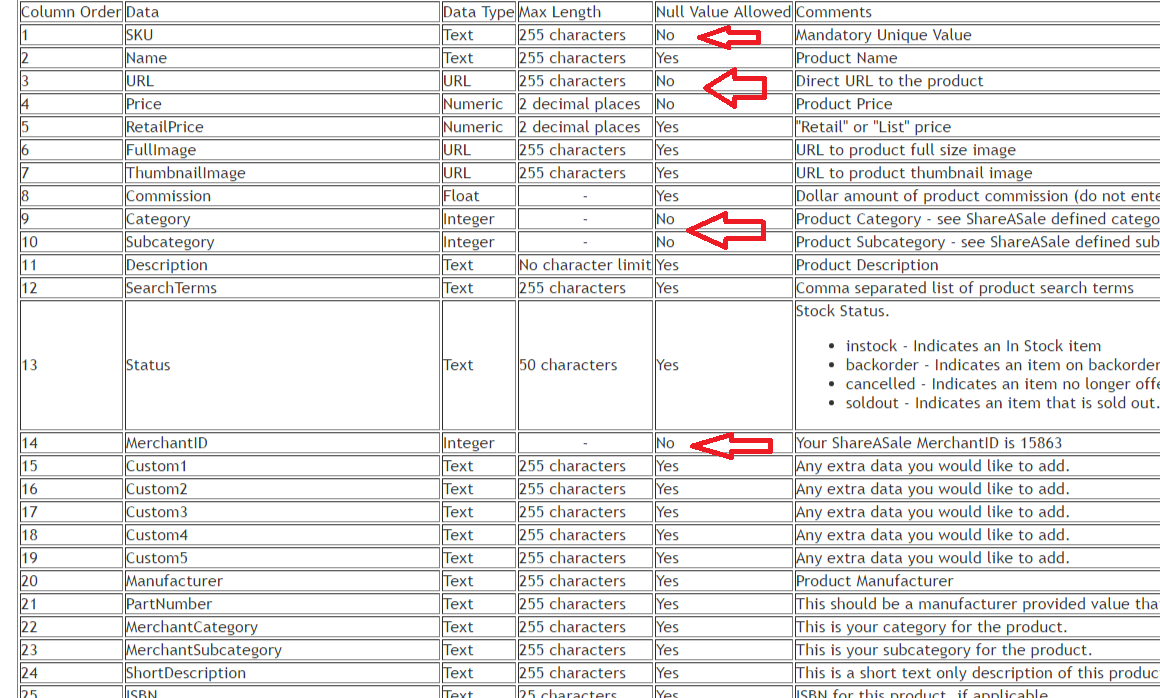
Are you a merchant with an affiliate program, but struggling to find quality affiliate to promote your brand? If so, you are not alone. One of the biggest struggles is to recruit quality affiliates. If you are a ShareASale merchant then most likely you tend to see an influx of coupon affiliates applying, but the more valuable affiliates are out there, but may need to discovered. What your affiliate program may need is additional exposure to those affiliates. ShareASale offers different ways, through paid placements to reach affiliates that may be a fit for your program. To help in this I am going to show you how to purchase and set up a ShareASale Featured Program of your Category placement. This particular placement displays a logo and description of your affiliate program at the top of the individual category page for which you belong.
Step 1 – Navigating to the Featured Program of your Category Placement
You will start by navigating to the “TOOLS” menu option, followed by “PROGRAM BOOST”. This will take you to the section where you will make the purchase.

Step 2 – Purchasing the Featured Program of the Category Placement
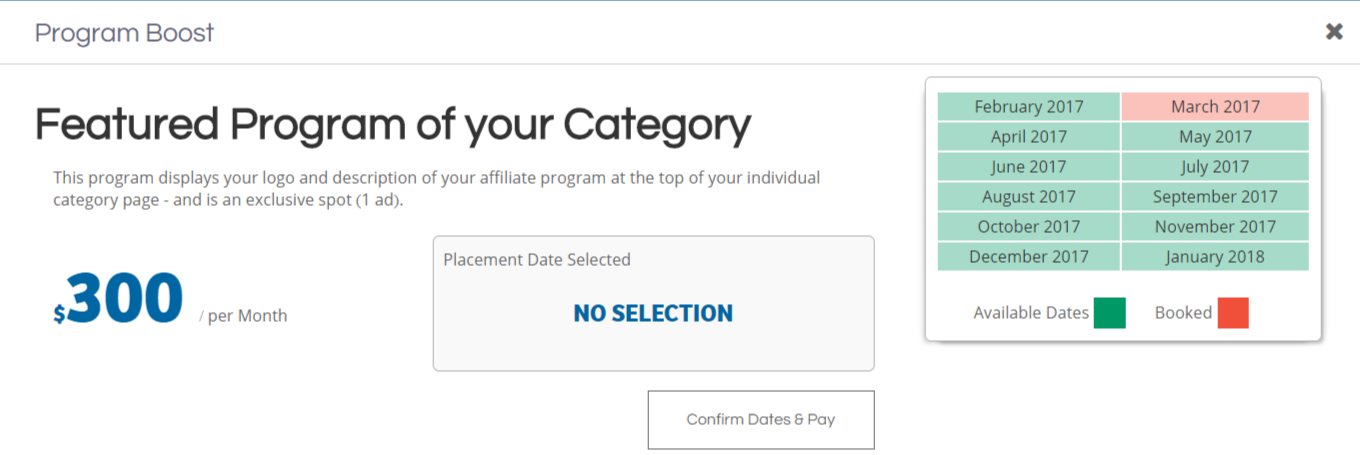
There will be multiple placement options, but you will scroll down and click the “BUY PROGRAM” button for the Featured Program of your Category. The next screen will be to select a month to have the placement run. To the right will be a list of the next 12 months. The green represents “available” and the pink represents “booked”. Click on the month you want to run the placement and click “CONFIRM DATES & PAY”. You will then be asked how you want to pay for it. It can be done from the current ShareASale balance (given there is enough to cover the $300) or credit card.
Step 3 – Setting up the Featured Program of the Category
Now the fun part! Navigate back to the Program Boost page. You will see a tab labeled “MY PROGRAMS”, click that and it will have the placement just purchased. There you will be able to edit the text and add the image needed.

To start creating the placement, click “EDIT”.

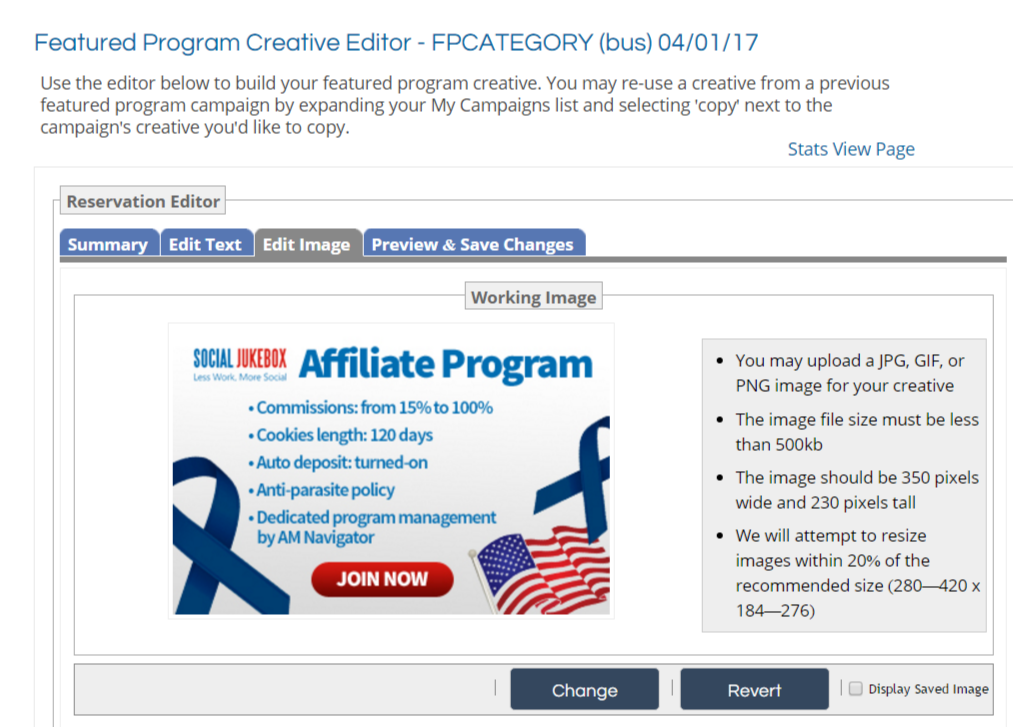
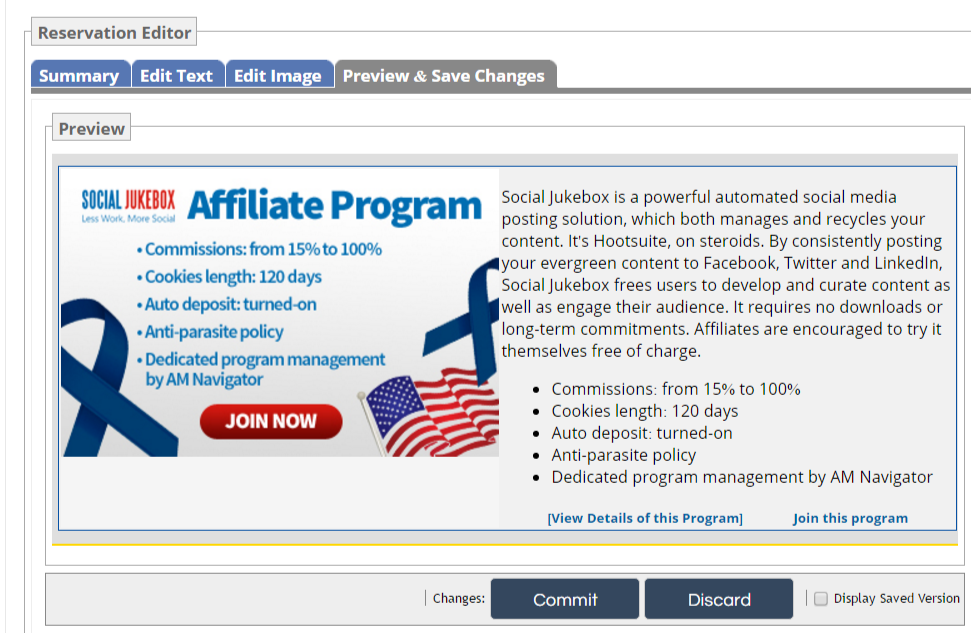
You will be brought to a screen that look like the image below. There are four (4) tabs. In the “EDIT TEXT” tab you will place a description of the program along with up to five (5) bullet points highlighting your affiliate program.

To add the banner image, click the “EDIT IMAGE” tab. The image should be in either JPG, GIF, or PNG form and be 350 px wide and 230 px tall. Once the image is loaded click the “PREVIEW & SAVE CHANGES” tab.
This is the final step. Review everything from the text to the banner. If there are any changes needed make them as soon as possible, but you do have up until the day before to modify the placement. Once all is good, click “COMMIT” and you are finished.
Creating brand awareness is a critical piece to a successful affiliate program, but also aids in attracting quality affiliates. For $300 the Featured Program of your Category can get you in front of highly influential affiliates and help take your program to the next level.

