As I mentioned in my last article on adding creatives to ShareASale, having a nice selection for affiliates to use is essential and optimal. Allowing the affiliates to choose which banners or links to put up will allow them to market your products more effectively. Recently I have set up and launched a number of affiliate programs on CJ Affiliate By Conversant and I thought I would provide a step-by-step guide to uploading creatives to your program on CJ Affiliate.
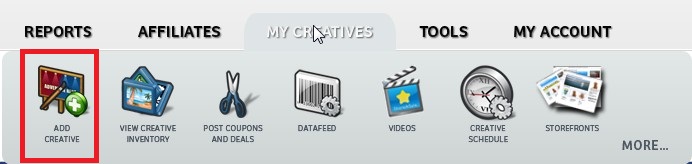
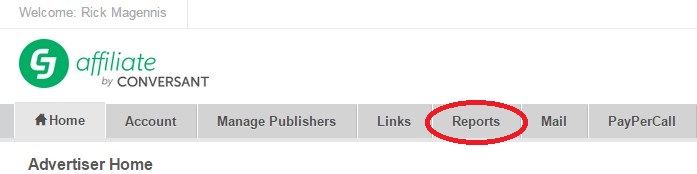
Step 1 – Locate the Links tab on the Main Navigation Menu of the Merchant Interface.
Once logged in you will need to click on the “Links” tab to begin the process of uploading new creatives (banners/text links) or modifying current creatives.

Step 2 – Select “Add New Link”
Click on the “Add New Link” button, a drop down menu will appear and you will then choose which new link (or banner) you want to upload.

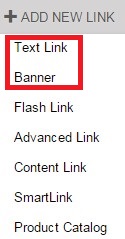
Step 3 – Select Text Link or Banner
As you can see in the image below you have a number of options as it pertains to creatives, but for the purpose of this tutorial we are going to focus our attention on text links and banners only. Depending on what type of creative you are uploading you will then make the appropriate selection, either text link or banner.
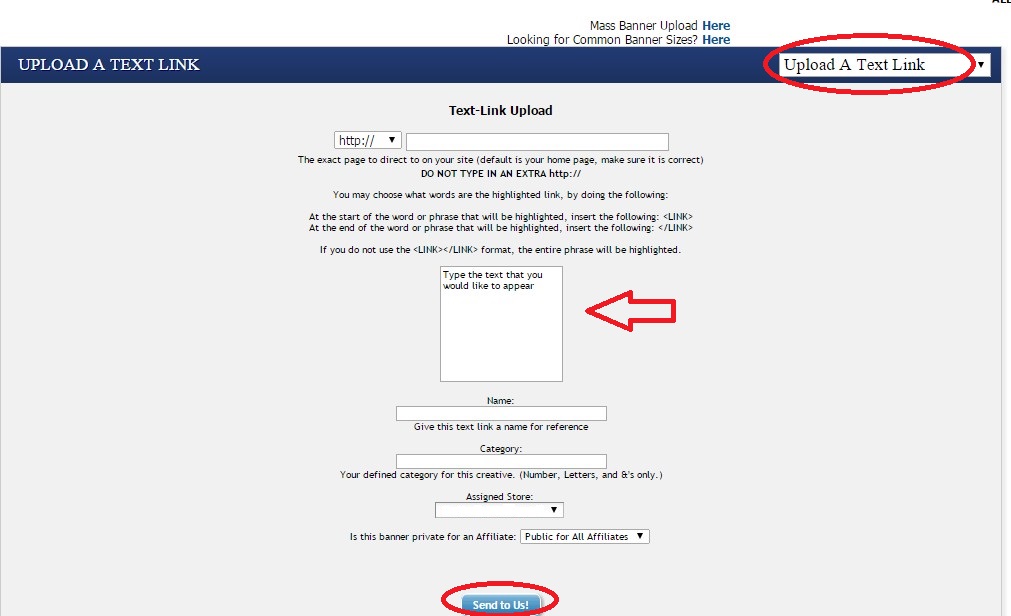
Step 4 – Uploading Text Links
You will want to give your link a name to differentiate it from others, as well as include the ad copy, a description, relevant keywords for affiliate to search with, a destination URL, and filling in the other fields shown in the image below. Make sure to include as much information about the link as possible in order to get full optimization with your affiliates.

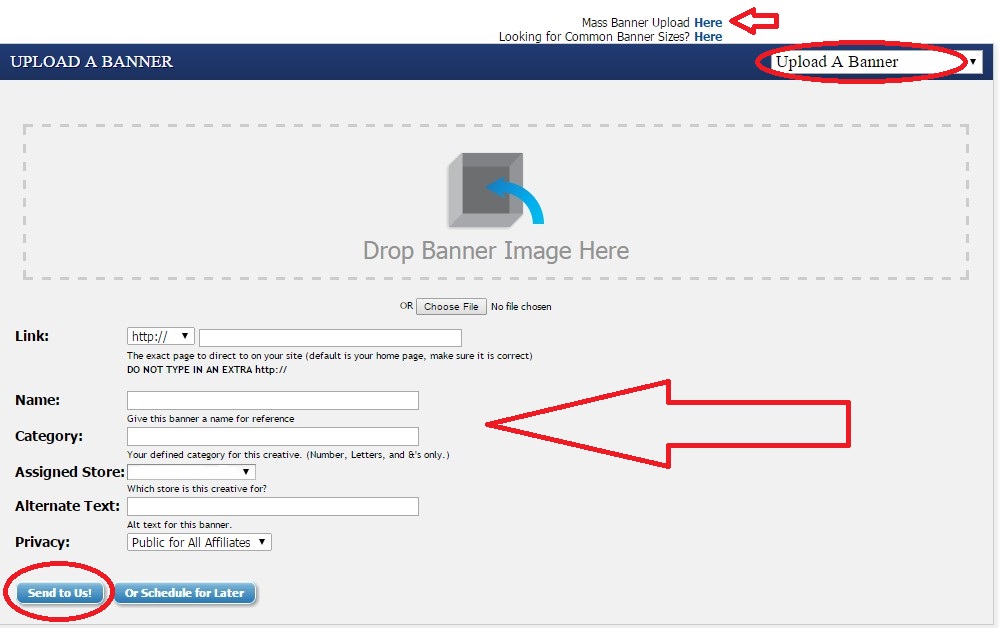
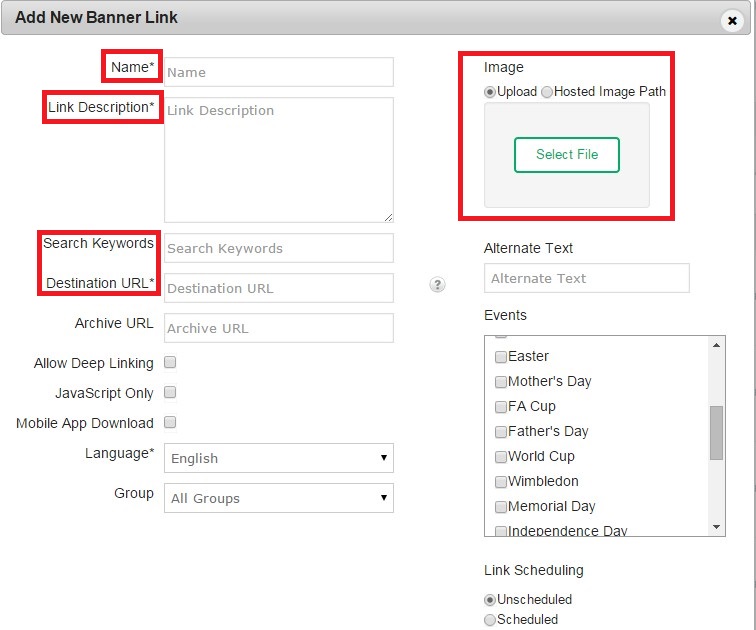
Step 5 – Uploading Banners
Similar to uploading text links you will want to name the banner, provide a description, include a destination URL, search keywords, and most importantly upload the banner.
You will want to repeat the same process for each additional banner and text link. Unfortunately, CJ Affiliate does not have a mass banner/link option like ShareASale does, but it is still a straight forward process that is essential in daily affiliate program management. Whether you have an affiliate program on CJ Affiliate, ShareASale, or another network your creative inventory should be taken seriously and showcased in professional manner.